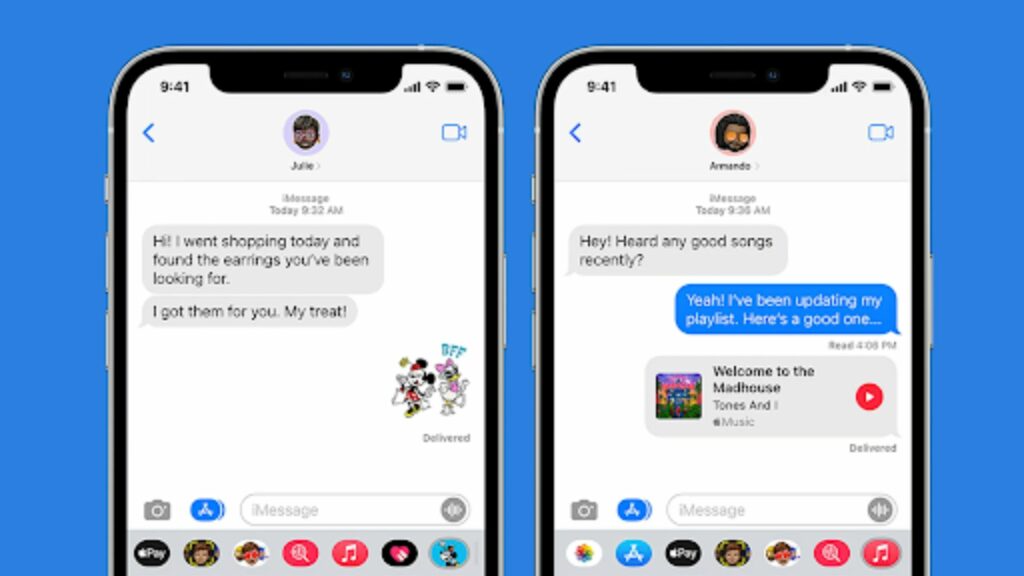
iMessage is a free texting feature for apple users that can connect iPhone owners through this internet-based messaging service. If you own an iOS, macOS, or iPadOS, you no longer need to switch to third-party applications to communicate with your loved ones. The iMessage chat screen appears in blue bubbles, whereas normal chat appears in green bubbles.
But how to enable iMessage on your iPhone or resolve the “Not Delivered” issue on your iMessage?
If you’re struggling with the successful deliveries of your iMessages, then we have an easy-to-resolve or activate guide for you. By following these simple steps, enabling iMessage on your iPhone will take less than 2 minutes!
Enable iMessage on New iPhone in 8 Easy Steps
Have you recently purchased or switched from Android to iPhone? After setting it up, are you still unable to activate or enable your iMessage?
If you recently purchased a new device, you need to enable the iMessage feature. These below-mentioned simple steps will help you with easy solutions-
- Head on to the settings app by unlocking your iPhone.

- Click on the app, and find the Messages option.

- Tap on the messages option in the list to proceed to the next step.
- In the top or middle of your display (screen), you will see an on & off slider for iMessage.

- If the slider is green, slide to its right, which means Imessage is already enabled, but if it is on the left, tap on it to allow the iMessage.

Note: (Disable and re-enable iMessage if it has already been enabled before you disable it).
- Upon tapping, click on the send and receive option.

- After clicking, select the e-mail address or phone number you would like to receive iMessages on. All your contact cards will get the same address.
That’s it, Folks. Enabling iMessage is as simple as that. You can now easily connect with existing iPhone users using its effects and features.
How To Add Email Address To iMessage On iPhone?
The following is a step-by-step guide on how to make it happen:
- Tap on the settings app.
- Find the message option while scrolling down and click on it.
- Upon clicking, tap on send and receive (option) and select the add another email option.
- After clicking, input the email address you wish to add to your- Gmail, iCloud, Hotmail, or Yahoo account.
How to Resolve the Not Delivered Issue for iMessage?
Examine Your iMessage Server
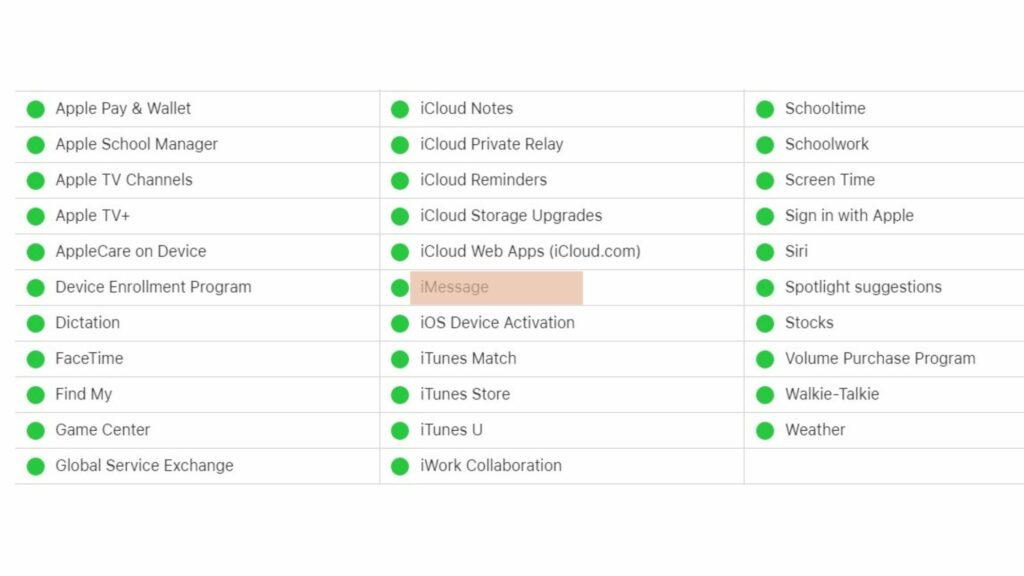
To scrutinize whether your iMessage server is active or not, visit the Apple System Status page.
Note: You must ensure a green circle to the left of iMessage.
Make Sure Your Software Is Updated
A software update is the most crucial aspect of safe and secure Apple devices. With it, you can enhance your existing programs on your device or optimize them for upcoming versions and iterations.
Therefore, update your phone’s software if the error (message) keeps popping up every time you send an iMessage.
The steps you need to follow are:
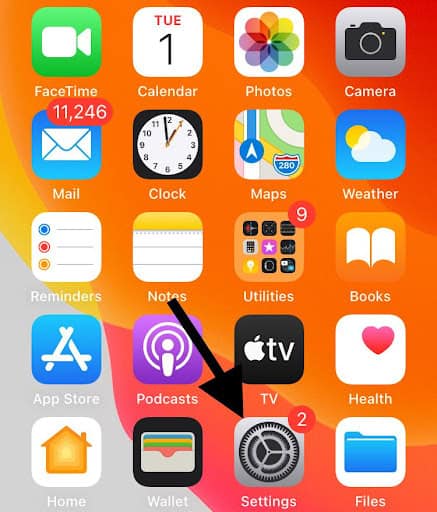
- Go to settings
Tap on the general option
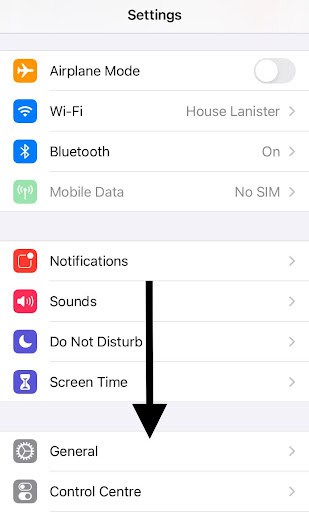
Upon tapping, choose Software Update and install the latest version of your iPhone.


Set Your Network Settings Back To Default
There are times when iMessage is inoperative because of bad network connections:
Fortunately, you can resolve this issue simply by resetting your network settings. All you have to do is:
- Click on the settings app.
- Once you have clicked, tap the General option.
- Upon tapping, click on the Reset option.
- In the final step, click on the third option on the list: Reset Network Settings.
Activate And Deactivate Airplane Mode
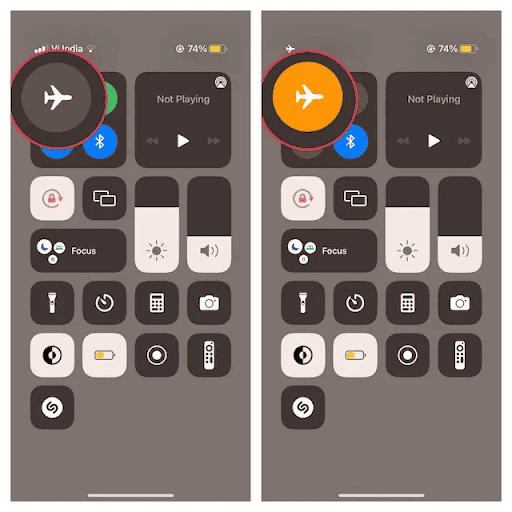
To ensure the smooth functioning of your iMessage, reset your connection radios.
If you have an iPhone with a home button, all you have to do is swipe up from the edge of the screen to access the control centre, where you can put the phone in airplane mode (by tapping the airplane mode option) and turn it off after 30 seconds.
If you have an iPhone without a home button, all you have to do is swipe down from the upper right corner of your screen to access the control centre, where you can put the phone in airplane mode (by tapping the airplane mode option) and turn it off after 30 seconds.
Set iMessage Settings To Default
As a last resort, try resetting your iMessage if none of the above hacks works for you.
- Find settings and keep scrolling until you locate the Message option.
- Tap on the message option. Upon tapping, click on Send and Recieve option.
- Uncheck your Email, and contact number under YOU CAN BE REACHED BY the iMessage AT section.
- After clicking on your Apple ID, three options will pop up, from which you need to choose the second one, i.e. Sign out.
- After completing the list of all these steps, restart your iPhone and enable iMessage (from settings) again by supplying your Apple ID.
Factory Reset
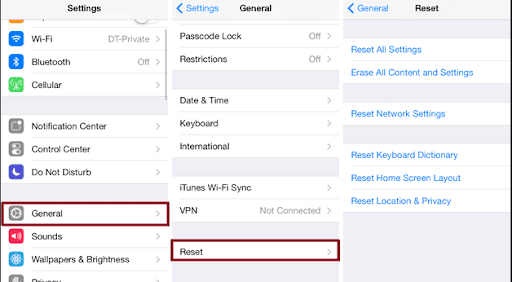
You can opt for a factory reset to enable your iMessage if all else fails.
- Head on to Settings and choose the General option.
- Find the Reset option while scrolling down.
- Upon clicking, choose the Reset All Setting option.
- Once you choose this option, a pop-up will appear where you must enter your device passcode. Enter the passcode and select the Reset All Settings option in the pop-up.
Conclusion
After trying out our hacks, we are sure that you will be back to the job of using iMessage in no time at all. Whether it was switching between Airplane mode, Enabling iMessage, Resetting your network connections or any other hack that enabled your iMessage, please let us know in the comment section below.
In the meantime, we’d like to hear about any other things you’ve found to be successful that we have missed on this blog page, so feel free to share them with us.
Frequently Asked Question
‘Why am I not receiving text messages on my iPhone?’: How to fix typical iPhone messaging problems?
Start by rebooting your iPhone. Often, it may be enough to turn the iPhone off and back on again to resolve an array of issues with
– Apps
– Network connections,
– Other technical problems.
Also, ensure an active internet connection.
Lastly, make sure your iPhone is set up to receive messages by heading over to the following menu:
– Settings-) Messages-)Send and Recieve
How to see iMessages from a blocked number on an iPhone?
It’s pretty quick and easy; let’s jump into it:
– Launch the Settings app
– Find the message option.
– Once fetched, tap on it to find the blocked contact option.
– Tap on it; your iPhone will display all the details for blocked contacts.
– To unblock a particular number, swipe it to the left and tap on the button that says “Unblock.”
– As soon as you unblock that particular number, you will once again be able to receive texts, voice messages, and FaceTime calls (from the unblocked contact).
How to make a group chat on your iPhone to send messages to many people at once?
– Go to your iPhone’s Message app.
– You will see the compose button in the upper right corner of your display (screen). Click on that button to get started.
– Upon clicking, forward to another step by selecting the contact cards, you wish to add to the group.
Note: You can manually add people from your contact list by clicking on the + sign
– After you have typed or selected the names of the participants you wish to add to the conversation, start curating your message.
– Once you have typed in your message, you can send it by clicking the arrow (right next to where your message ends).

